
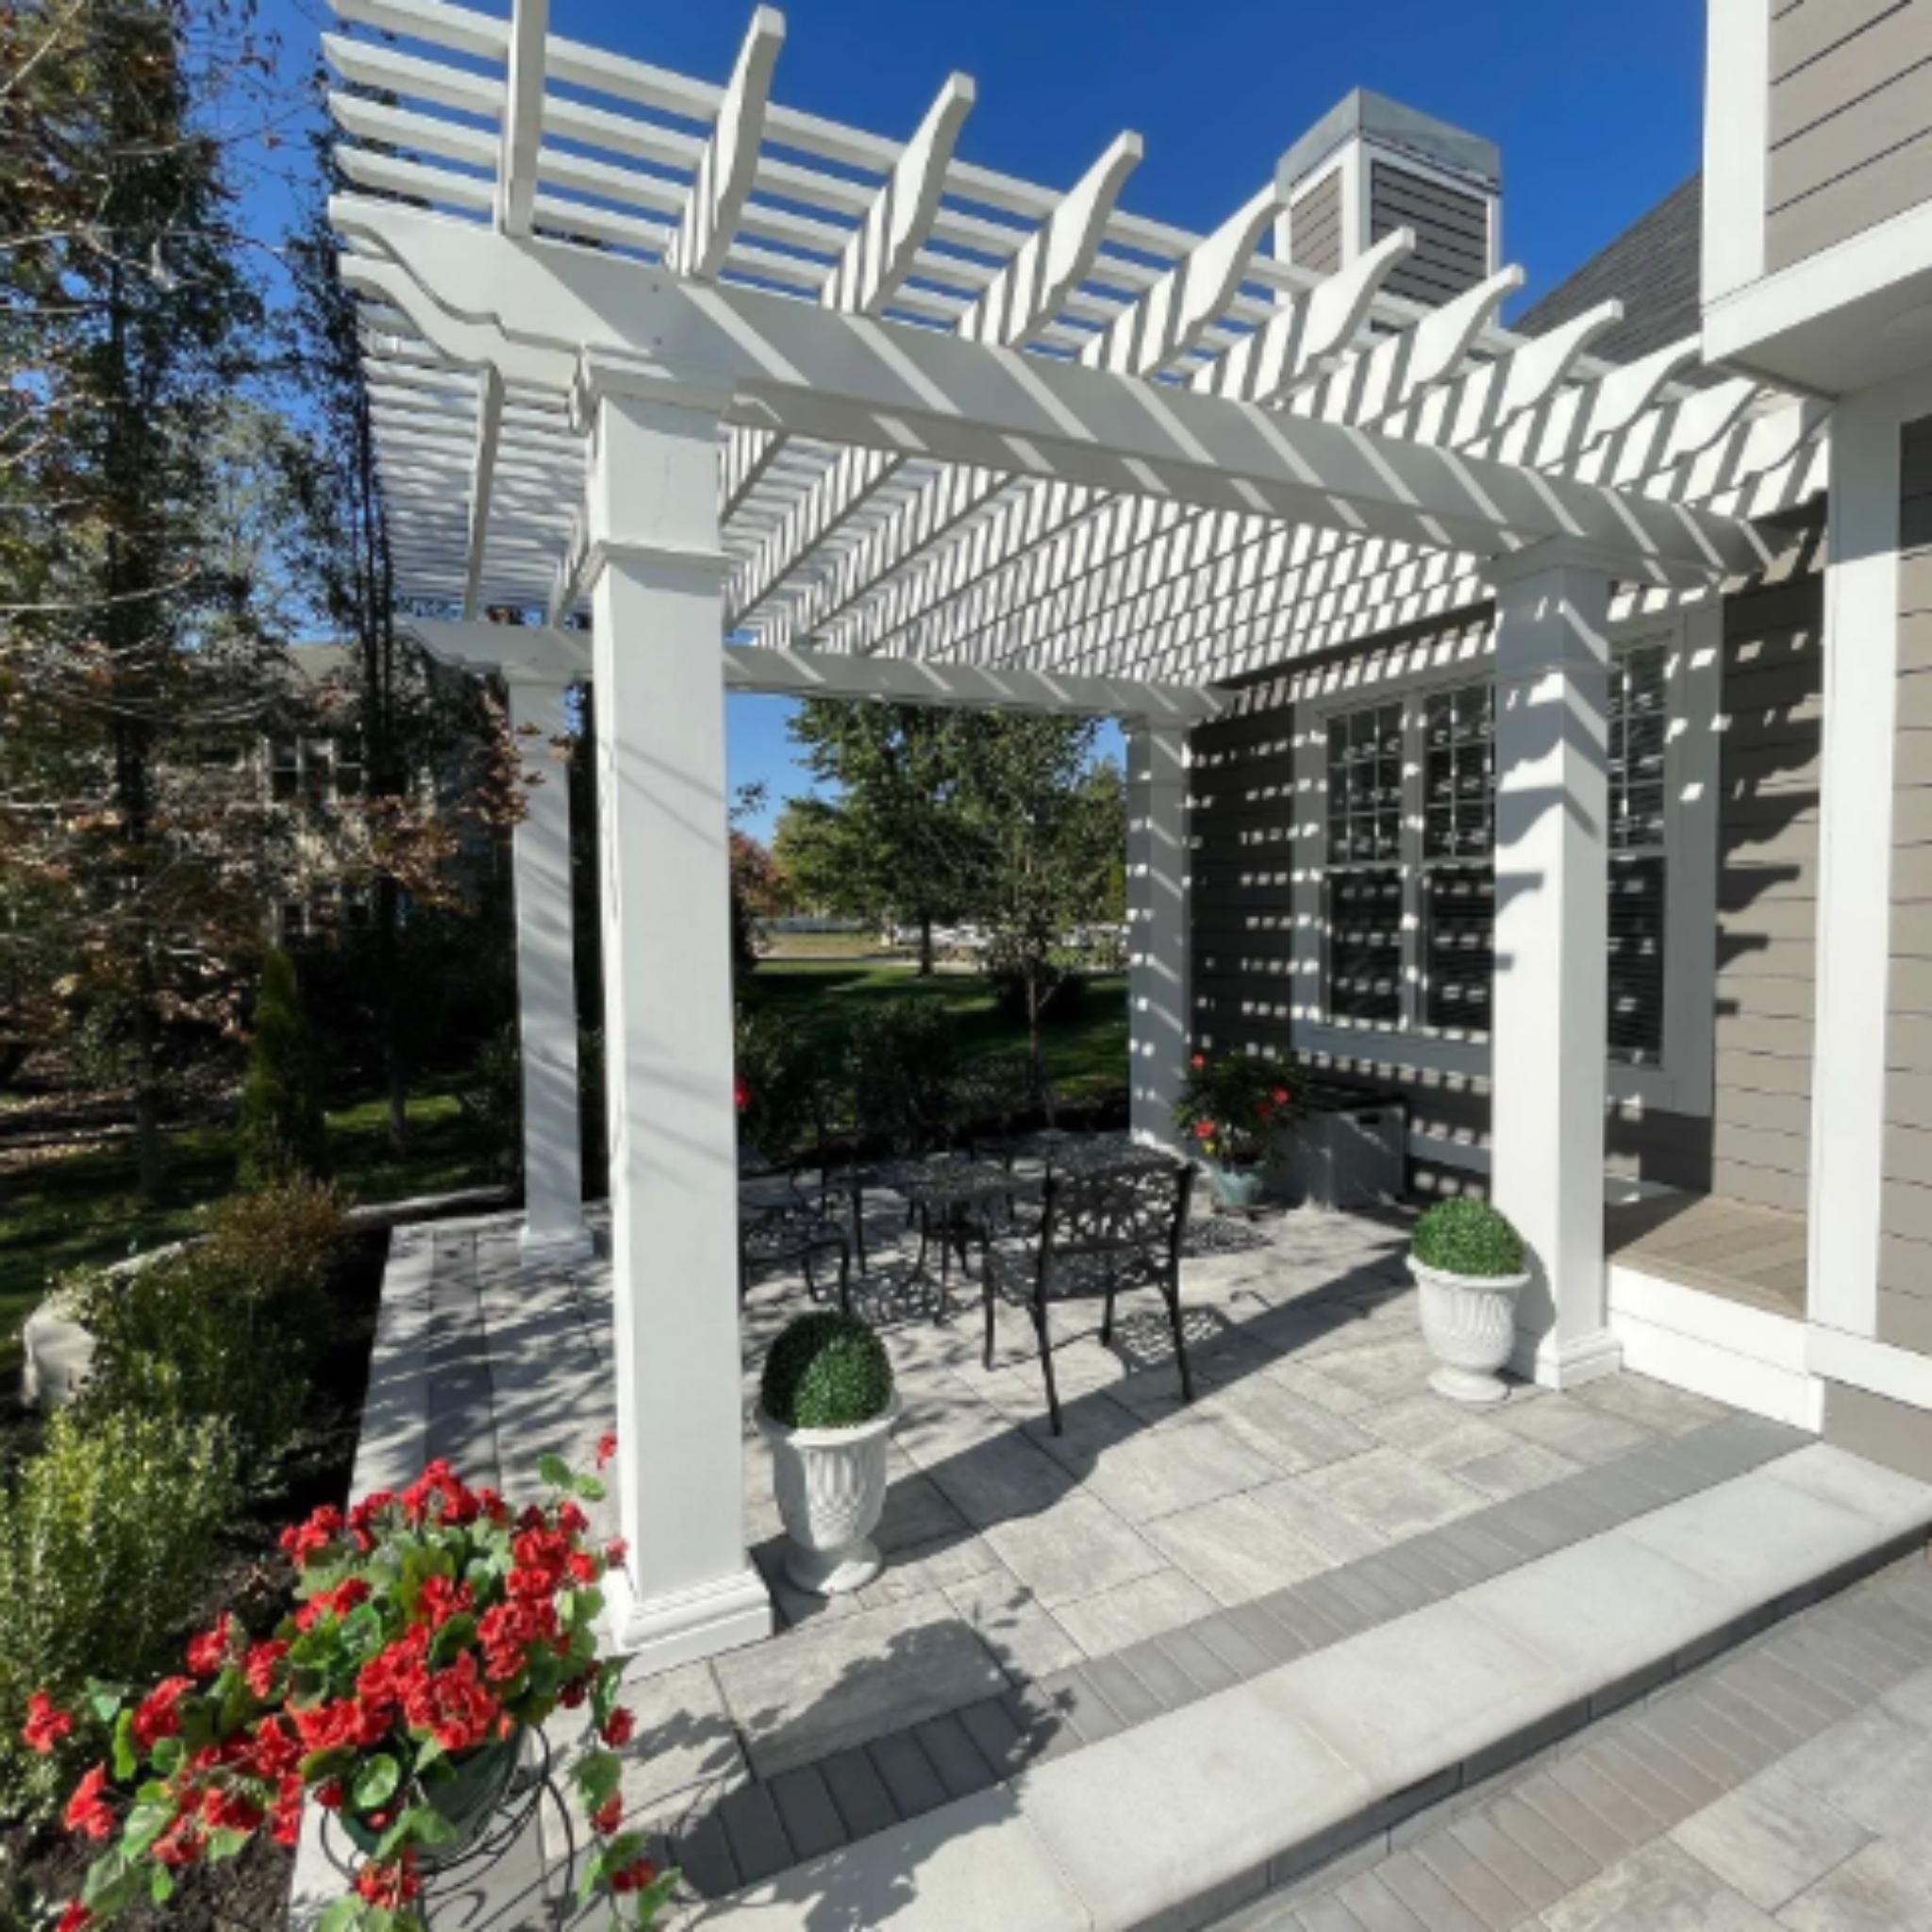
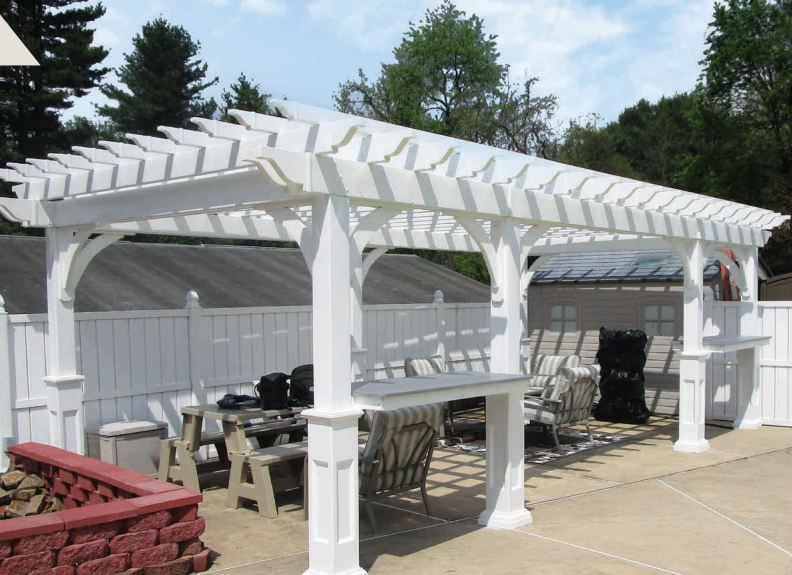
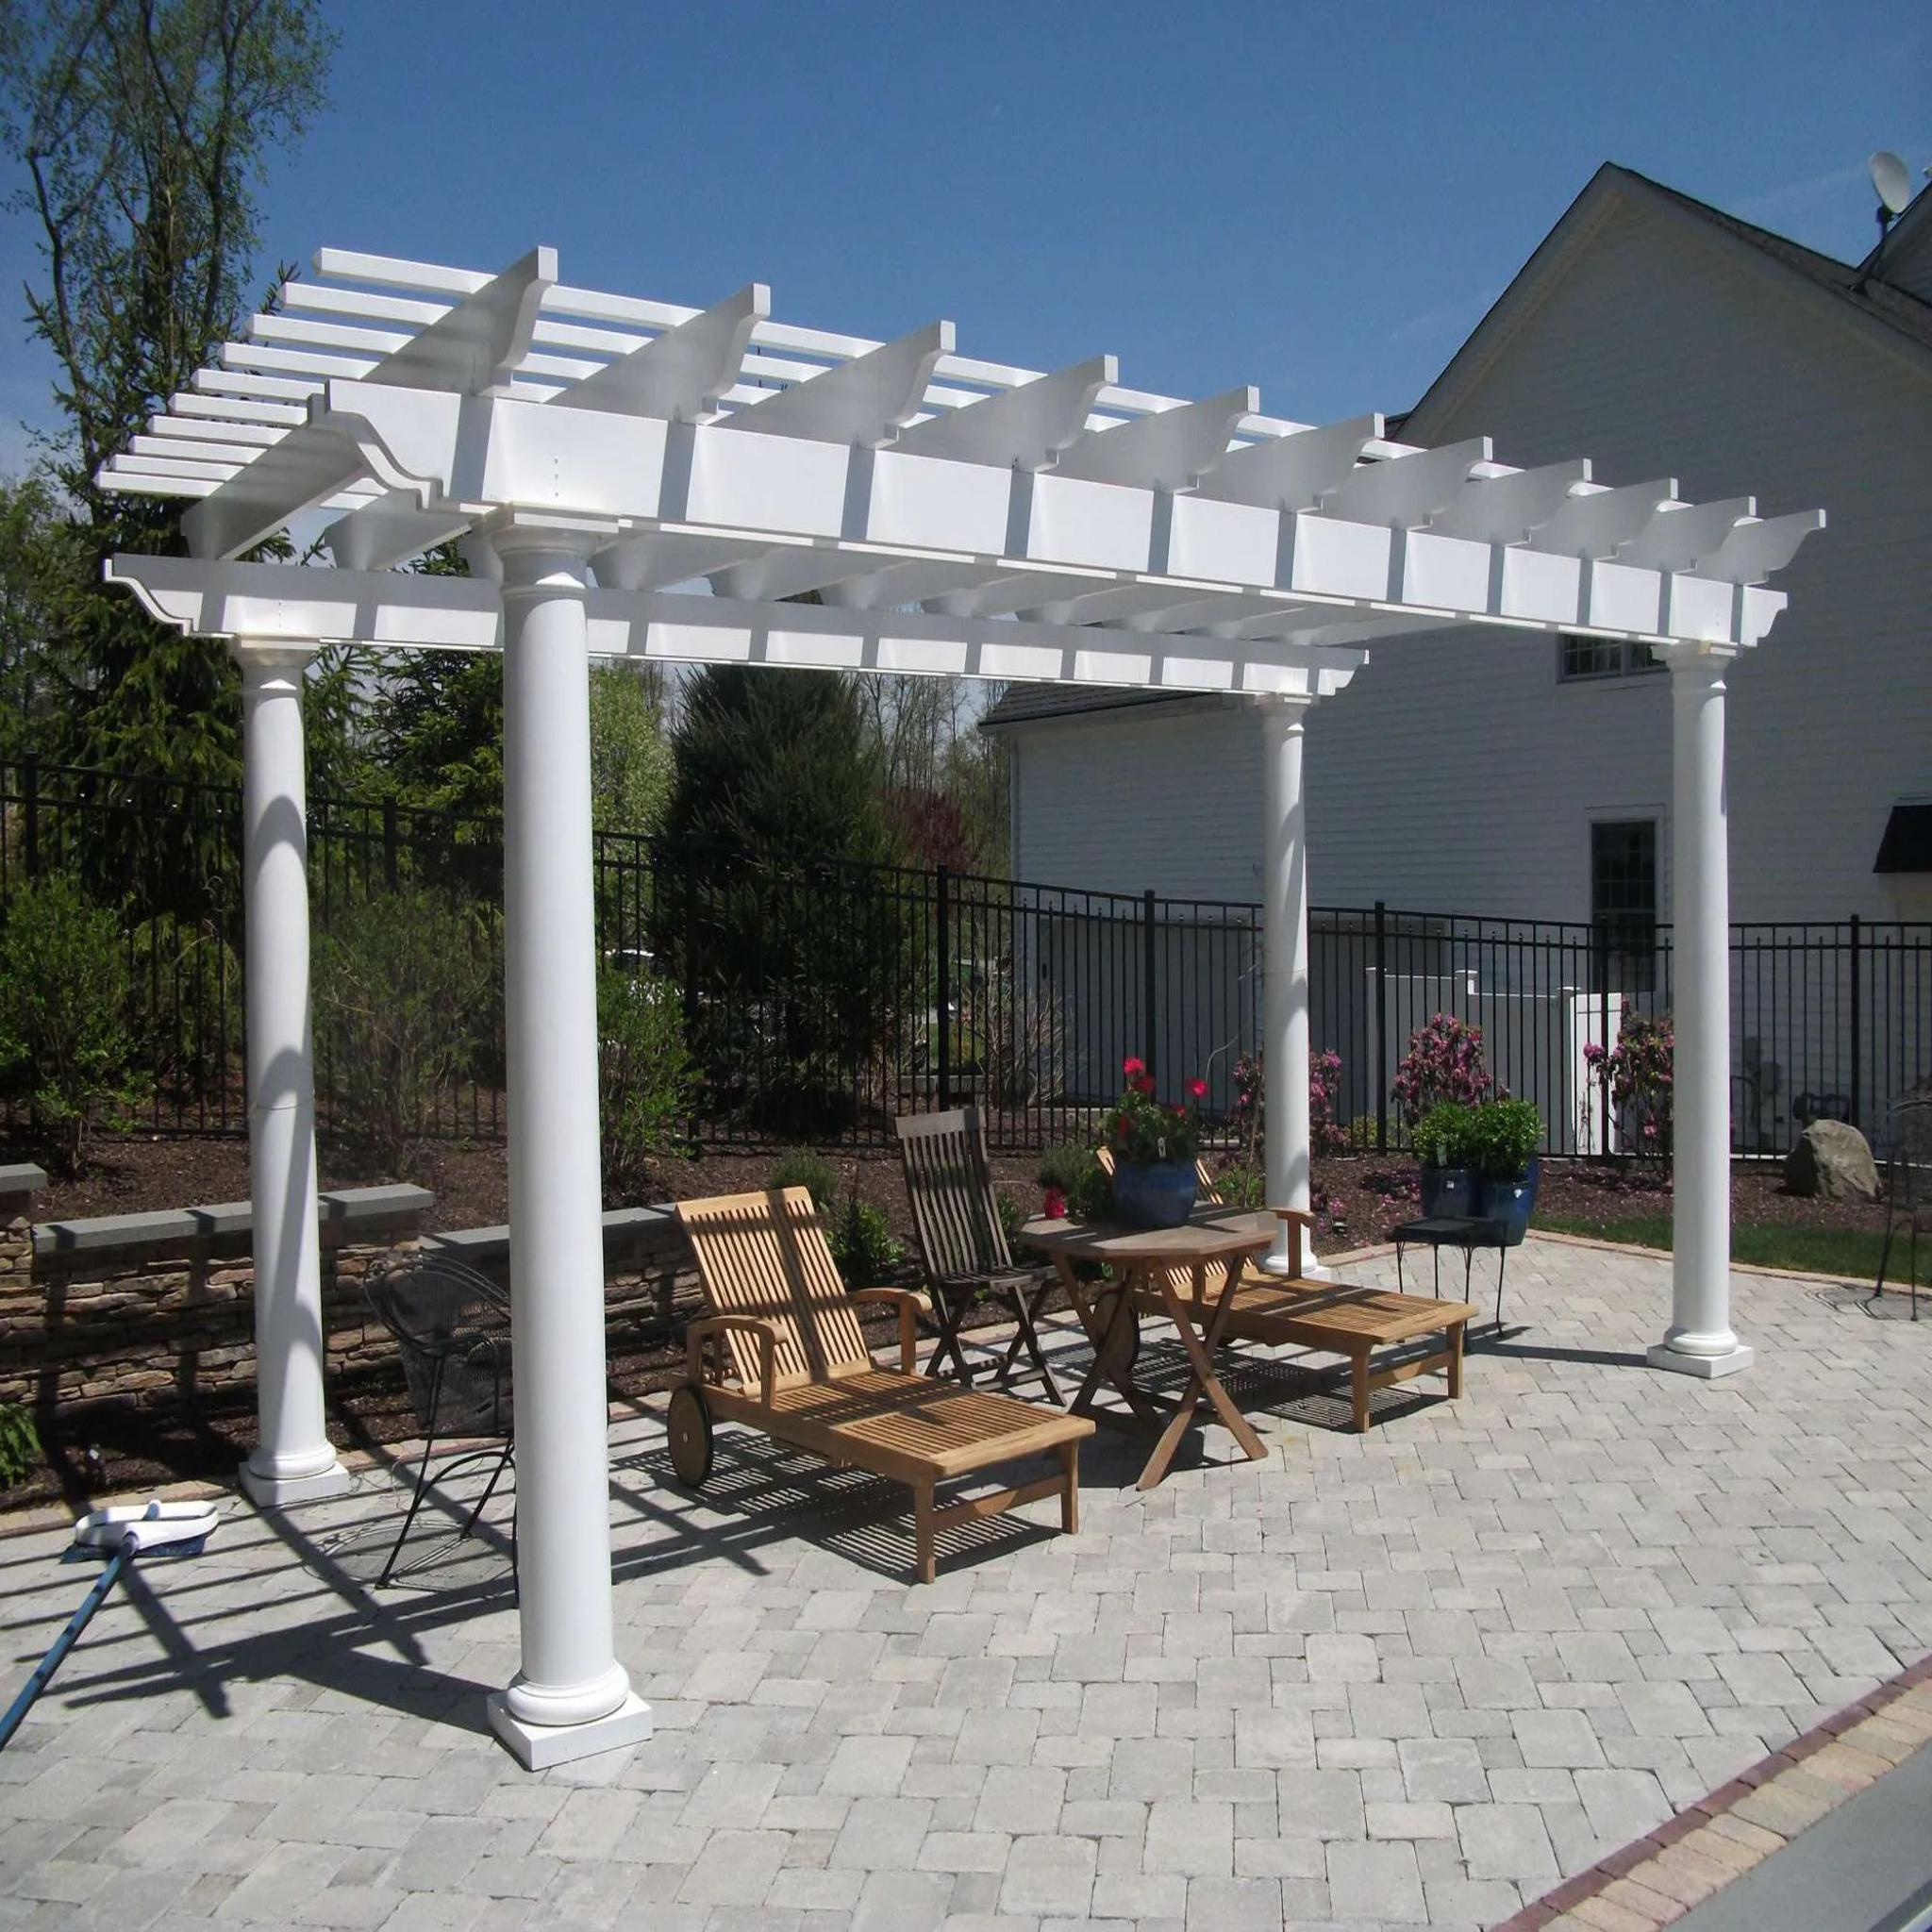
Installation Information
This product includes a detailed installation guide with step-by-step instructions for assembling your fiberglass arbor kit.
If you are unable to view the installation guide for any reason, please contact us at 1-800-930-7495 and we will promptly mail, email, or fax a copy to you.
Installation Tips
-
When installing the threaded rod into the anchor coupler, it may be helpful to raise the column approximately 8 inches off the ground. This allows easier access to guide the rod into the anchor.
-
Use wooden blocks to support the column while another person holds it steady. Turn the threaded rod several times to secure it into the anchor coupler before removing the wooden blocks.
-
This step is best completed by two people—one to lift and stabilize the column and another to insert the wooden blocks and guide the rod.
-
When installing the top plate/column cap, hold both the cap and the column together to properly align with the threaded rod. Slightly tilting the column may be necessary for alignment.
-
Do not overtighten the nut at the top of the column. If the top plate begins to bow inward, loosen the nut slightly.
-
Set the clutch on your drill or screwdriver so the self-tapping screws do not bow the fiberglass rafter supports. The components are hollow and may flex if excessive force is applied.
-
When installing on a deck using a deck plate, ensure lag bolts are long enough to pass through the deck boards and secure into the joists below. Additional under-deck bracing may be required to ensure proper anchoring.
Tools Required
-
Hammer
-
Electric hammer drill
-
5/8" concrete drill bit
-
13/16" wrench
-
Portable cordless drill
-
#2 square drive bit
-
5/16" socket head bit
-
Pair of pliers
-
3/8" socket head bit
-
3/16" drill bit
-
1/8" drill bit
-
15/16" socket
Installation Instruction: CLICK HERE